Rogues Gallery
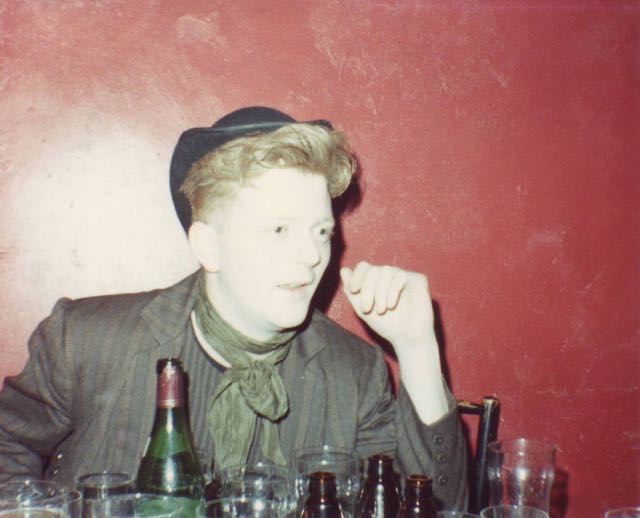
Sean (© Emma Fitch)
Home
|
Previous
|
Next